
I own a 2009 Smart Fortwo with about 66,800 miles. A few weeks ago I filled up with gas and when I returned home I had a strong gasoline smell in the garage. Doing some online research I found two possible causes. One possibility was I overfilled the tank and some gasoline entered the vapor recovery canister. The other possibility was a crack on the fuel pump outlet. If it was the former the smell should go away in a few days. If it was the latter the fuel pump would have to be replaced.
Of course, I was hoping it was the canister. I drove the Smart for a little over a week but the smell persisted. I was almost empty and debated filling up and continuing to drive or bite the bullet and replace the fuel pump. Well, I filled up again. I found my mileage had dropped from averaging 40 mpg to 33.4 mpg. When I got home I looked under the car. There was no gas dripping out anywhere but there were oily stains on the plastic belly pan. Looks like a fuel leak.
I found a post on the smartcarofamerica.com forum with a description for removing the fuel tank. This didn’t sound too difficult so I decided to give it a try.
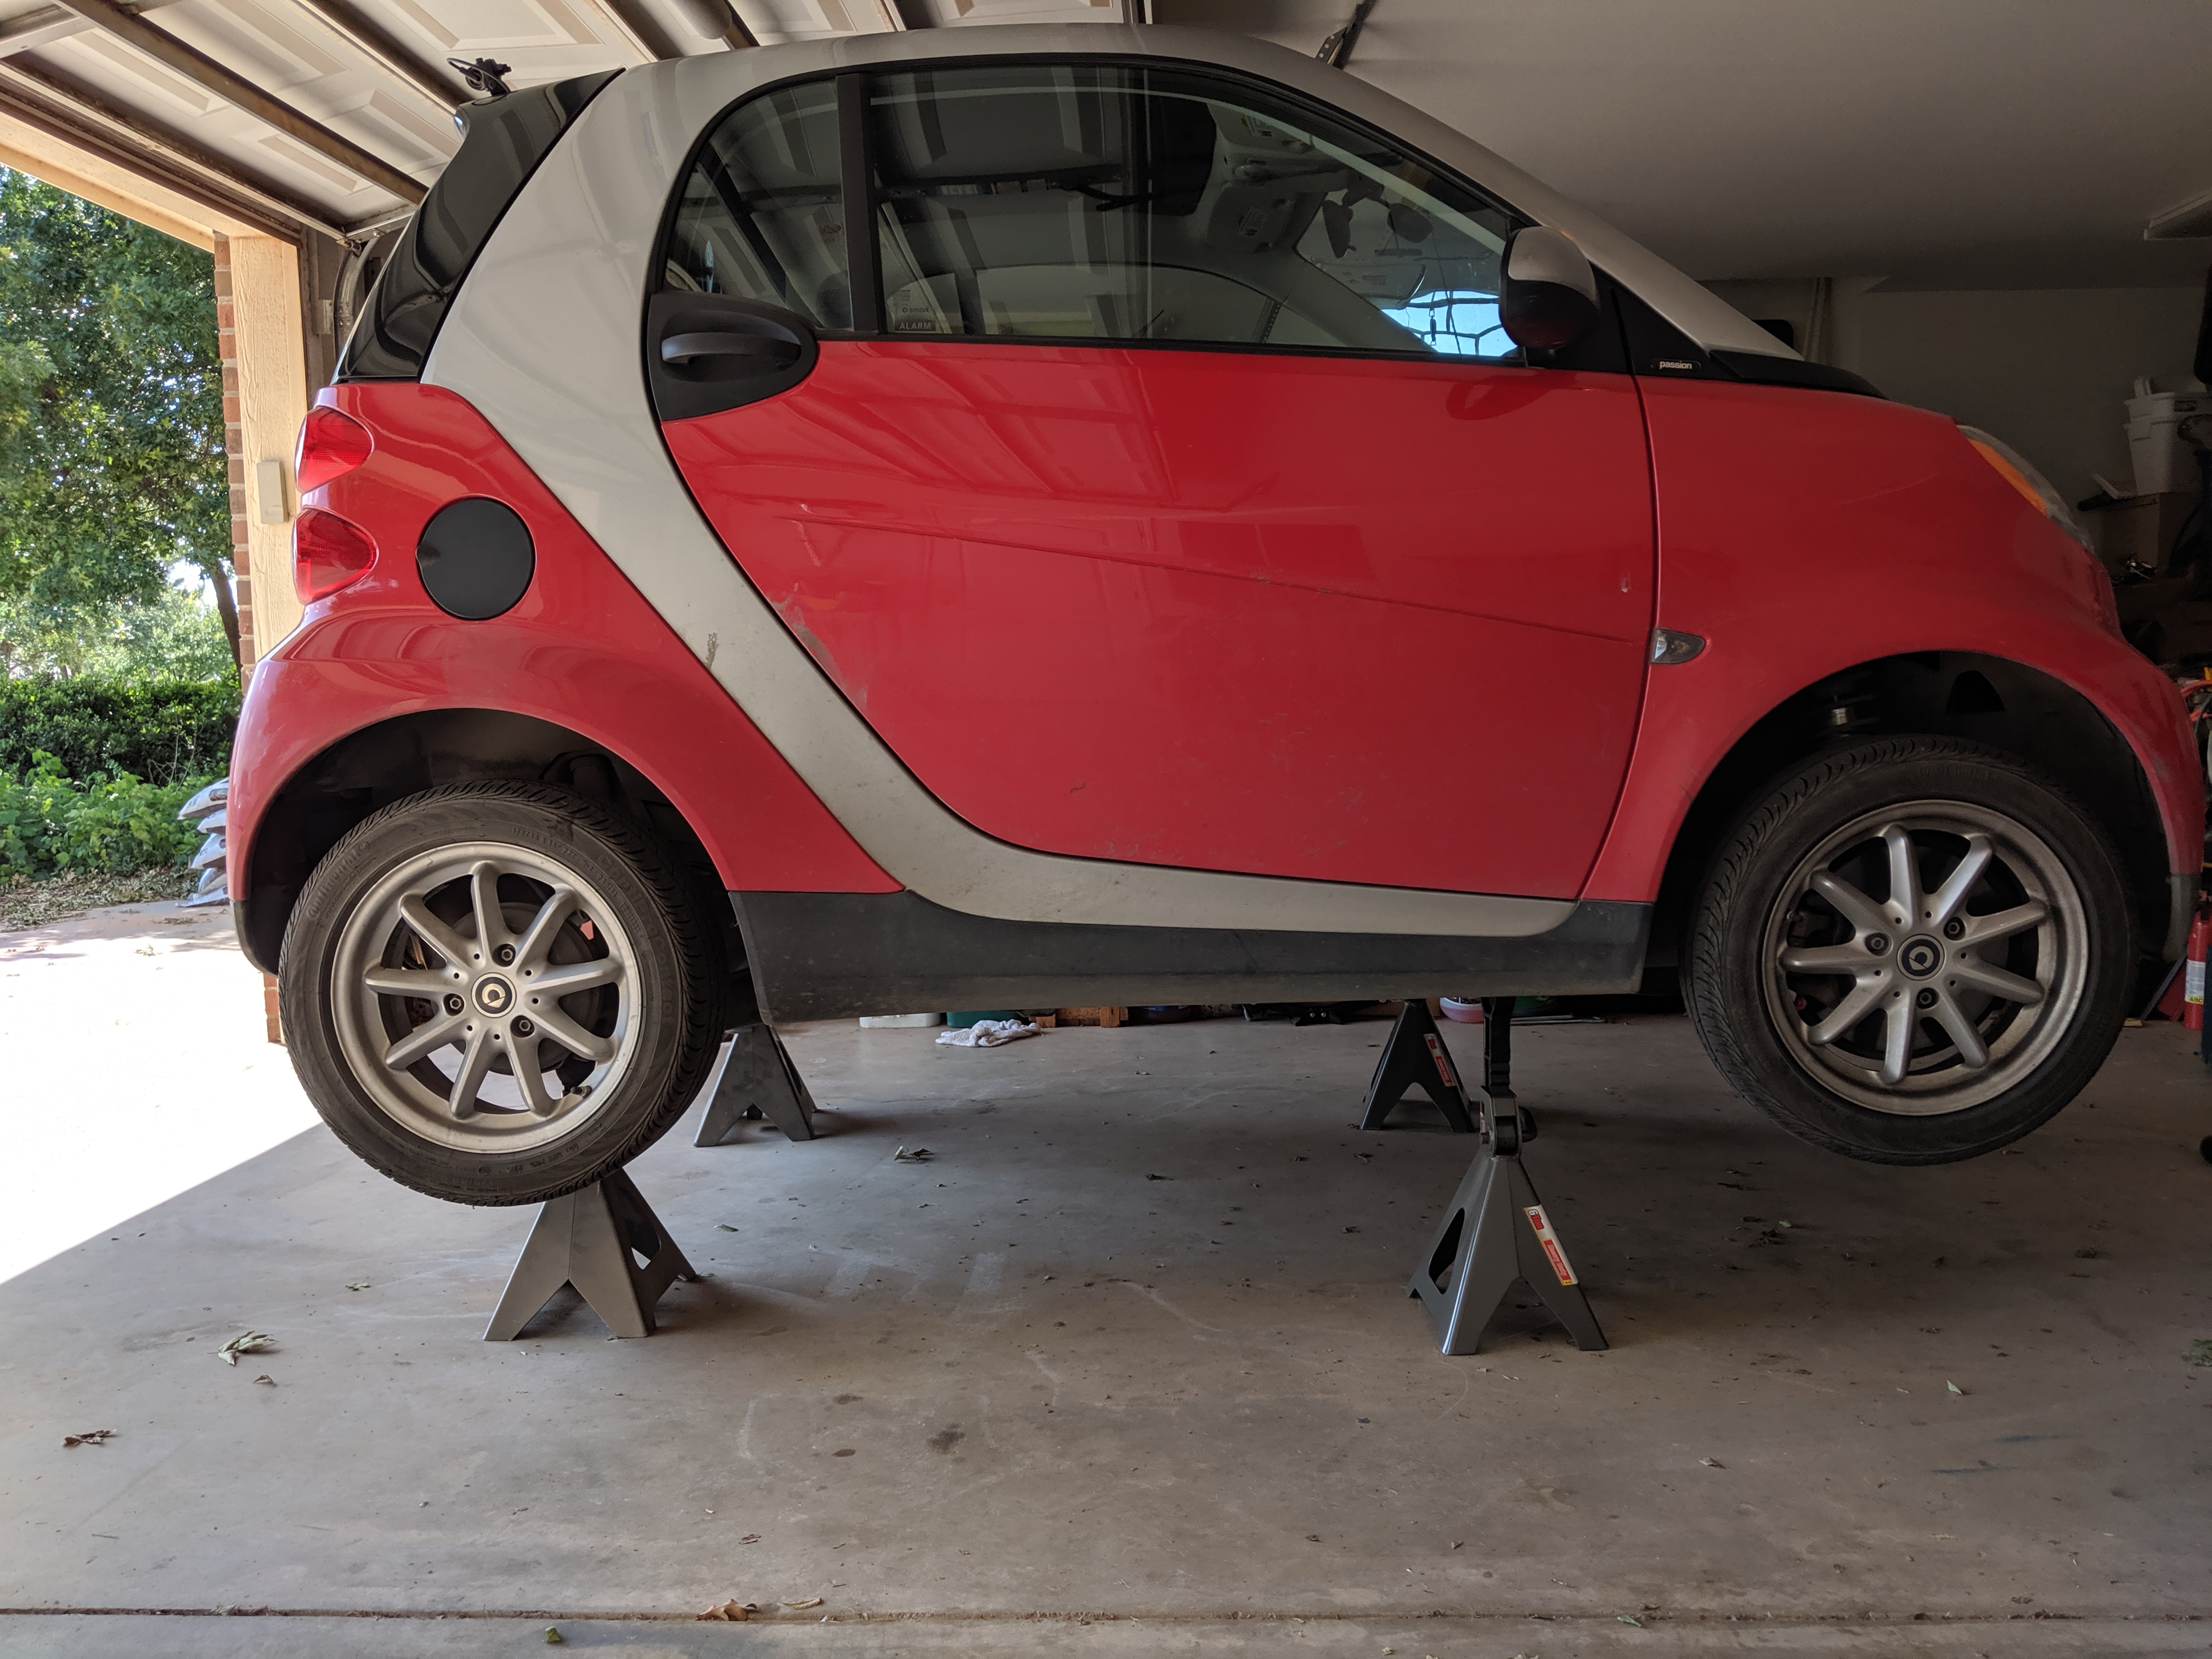
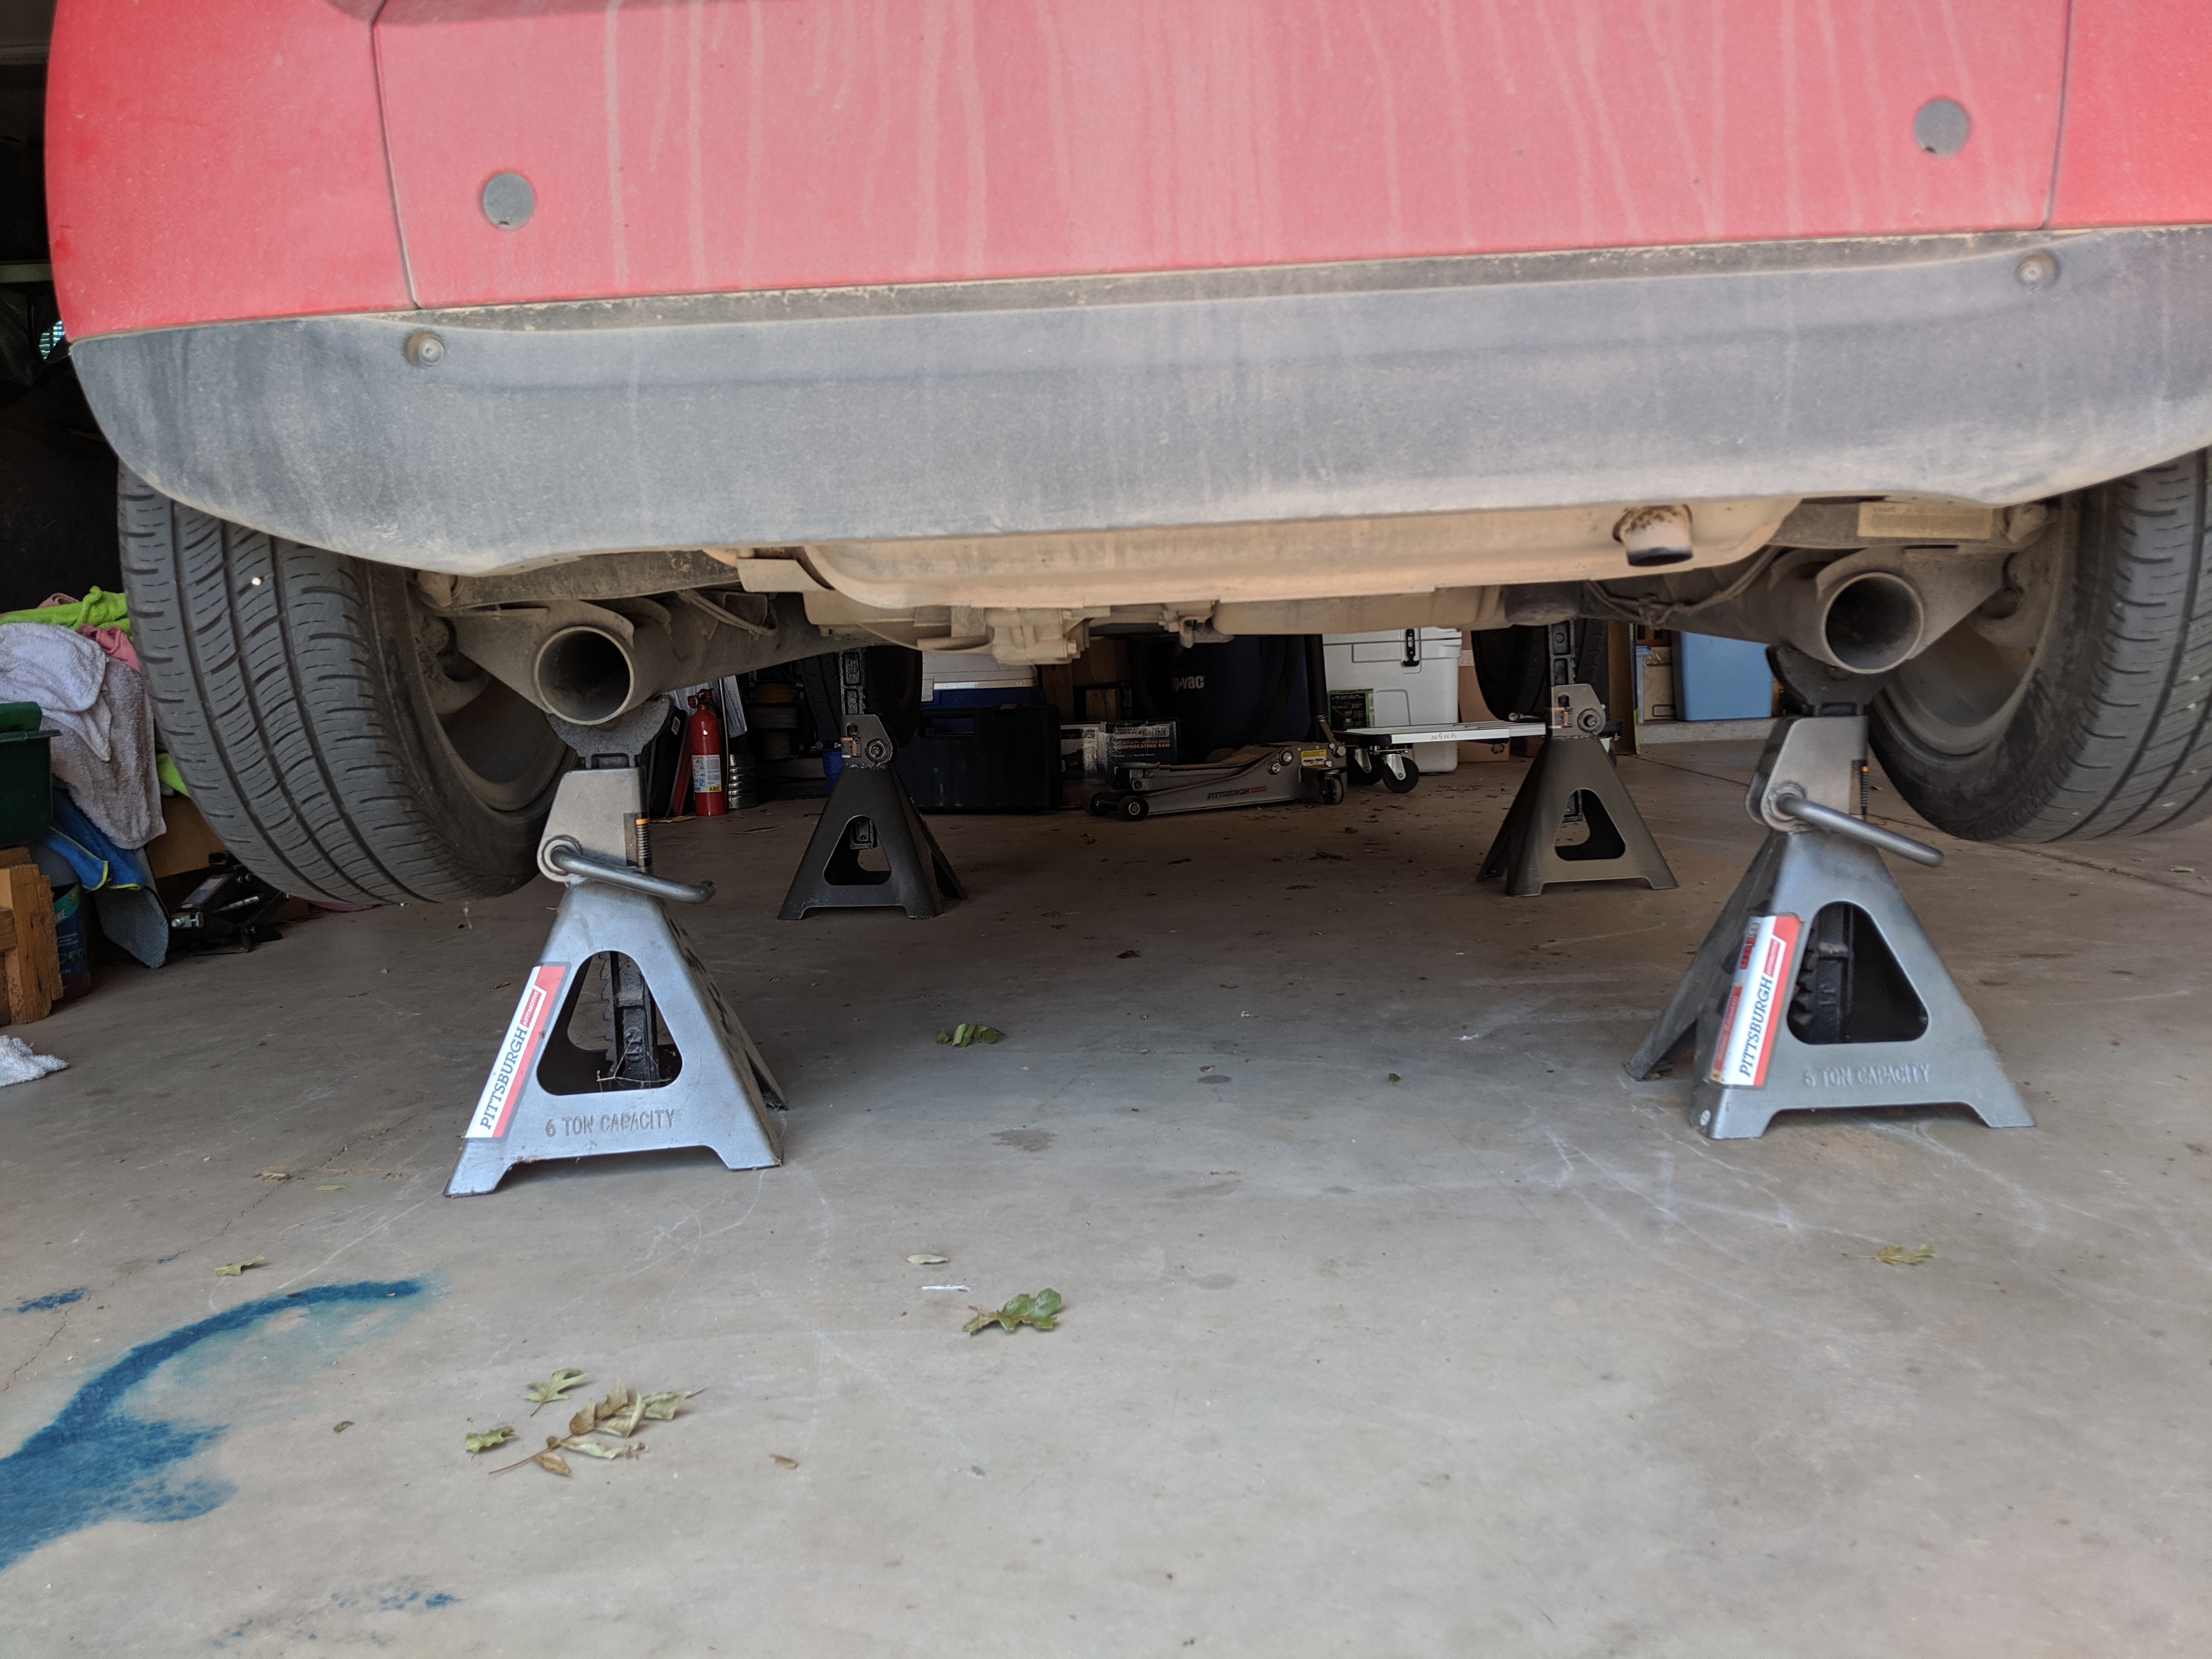
I jacked up the Smart with a floor jack under the rear jacking point and placed 6 ton jack stands under the rear tubular frame and the front jack point on both sides of the car. I was able to get the car about 20″ high. After jacking up the car I siphoned the gas from the fuel tank. I used a Gas Tapper manual siphon I had from a previous project.
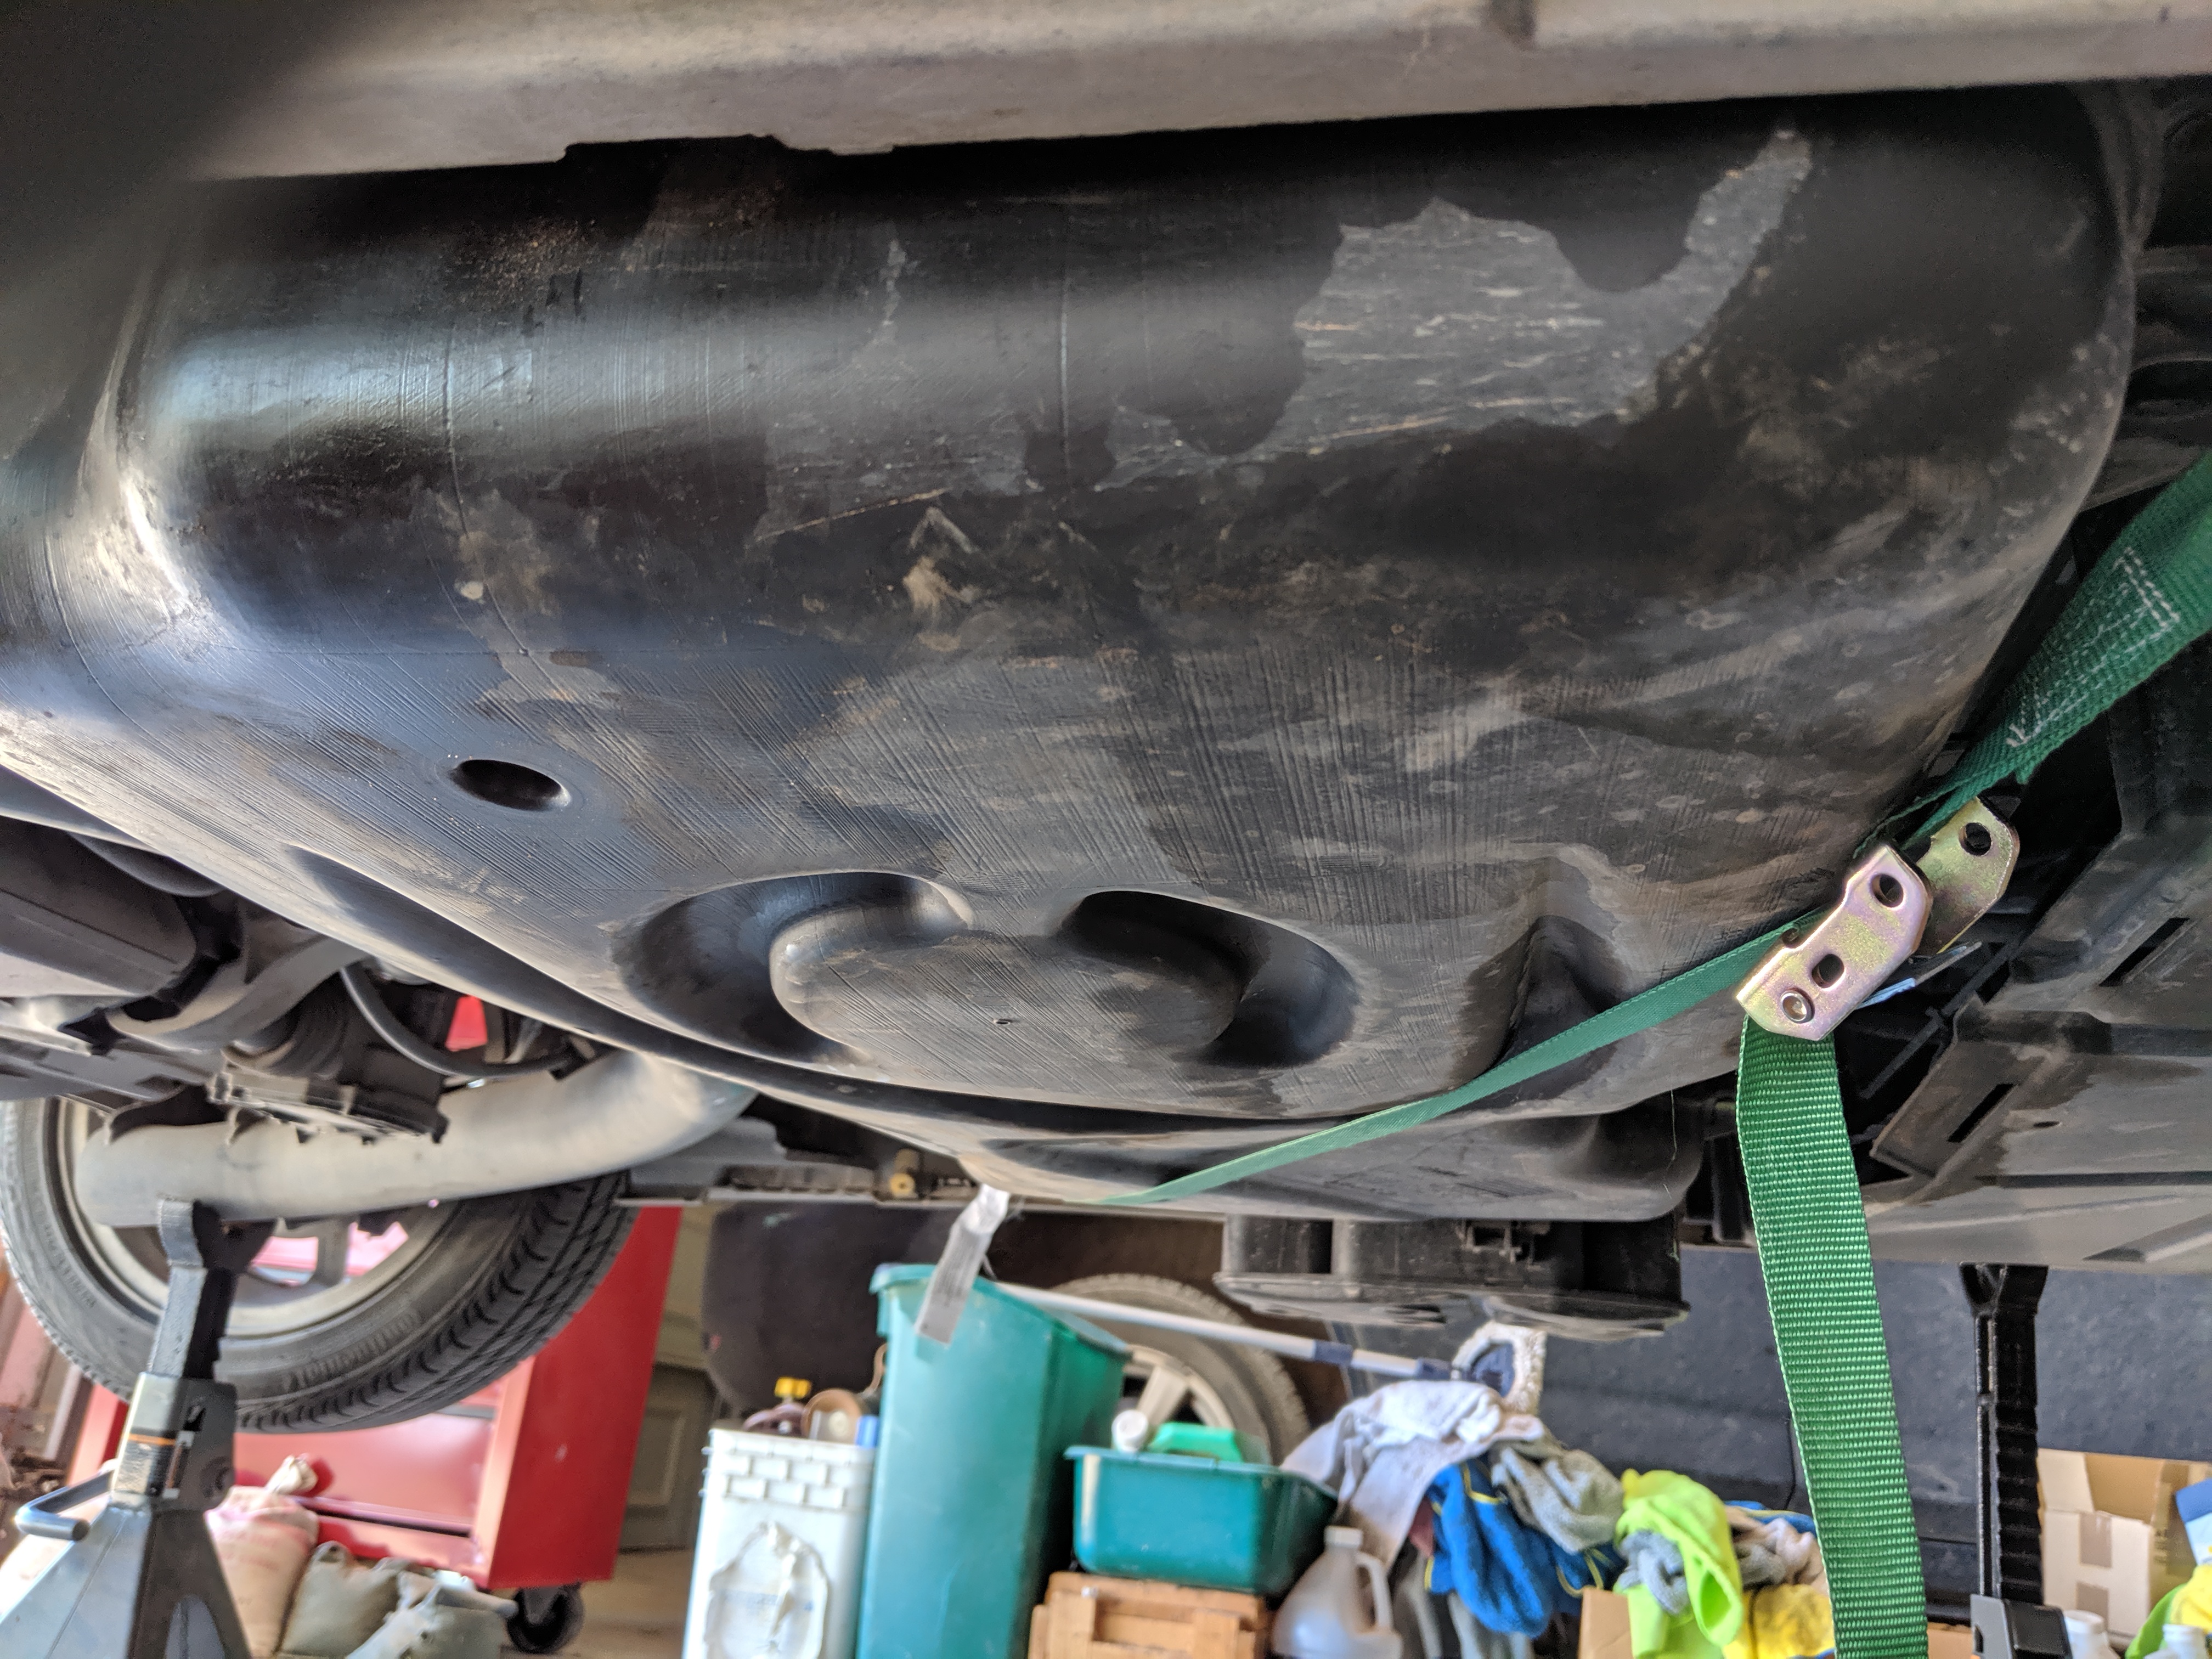
I removed the belly pan. The rear belly pan is held on by four 10mm hex head screws. The rear belly pan is hooked into the front belly pan. Even with 20″ of clearance under the Smart when the belly pan drops it doesn’t drop far enough to easily unhook it from the front belly pan. I was able to bend the pan and reach the hooks to slightly straighten them to unhook the belly pan.


Next I removed the bulkhead. It’s bolted on with six E-TORX bolts. I don’t have a set of E-TORX sockets but found my 10mm socket worked fine. (I later bought a set of E-TORX sockets from Harbor Freight and found this size is E-12.)
At this point the gas tank can be removed. I placed a tie down strap under the tank to hold it while I removed the bolts. The tank is held on by five E-TORX bolts. I used an 8mm socket on these (or E-10 E-TORX socket). The tank fill line is held on by hose clamps and is easy to disconnect. Using the tie down strap worked well. After disconnecting the fill line and removing the bolts I was able to slowly lower the tank keeping an eye on the hoses and electrical cables attached to the tank. I found the hoses and cables had plenty of length so the tank could be lowered to a working level.
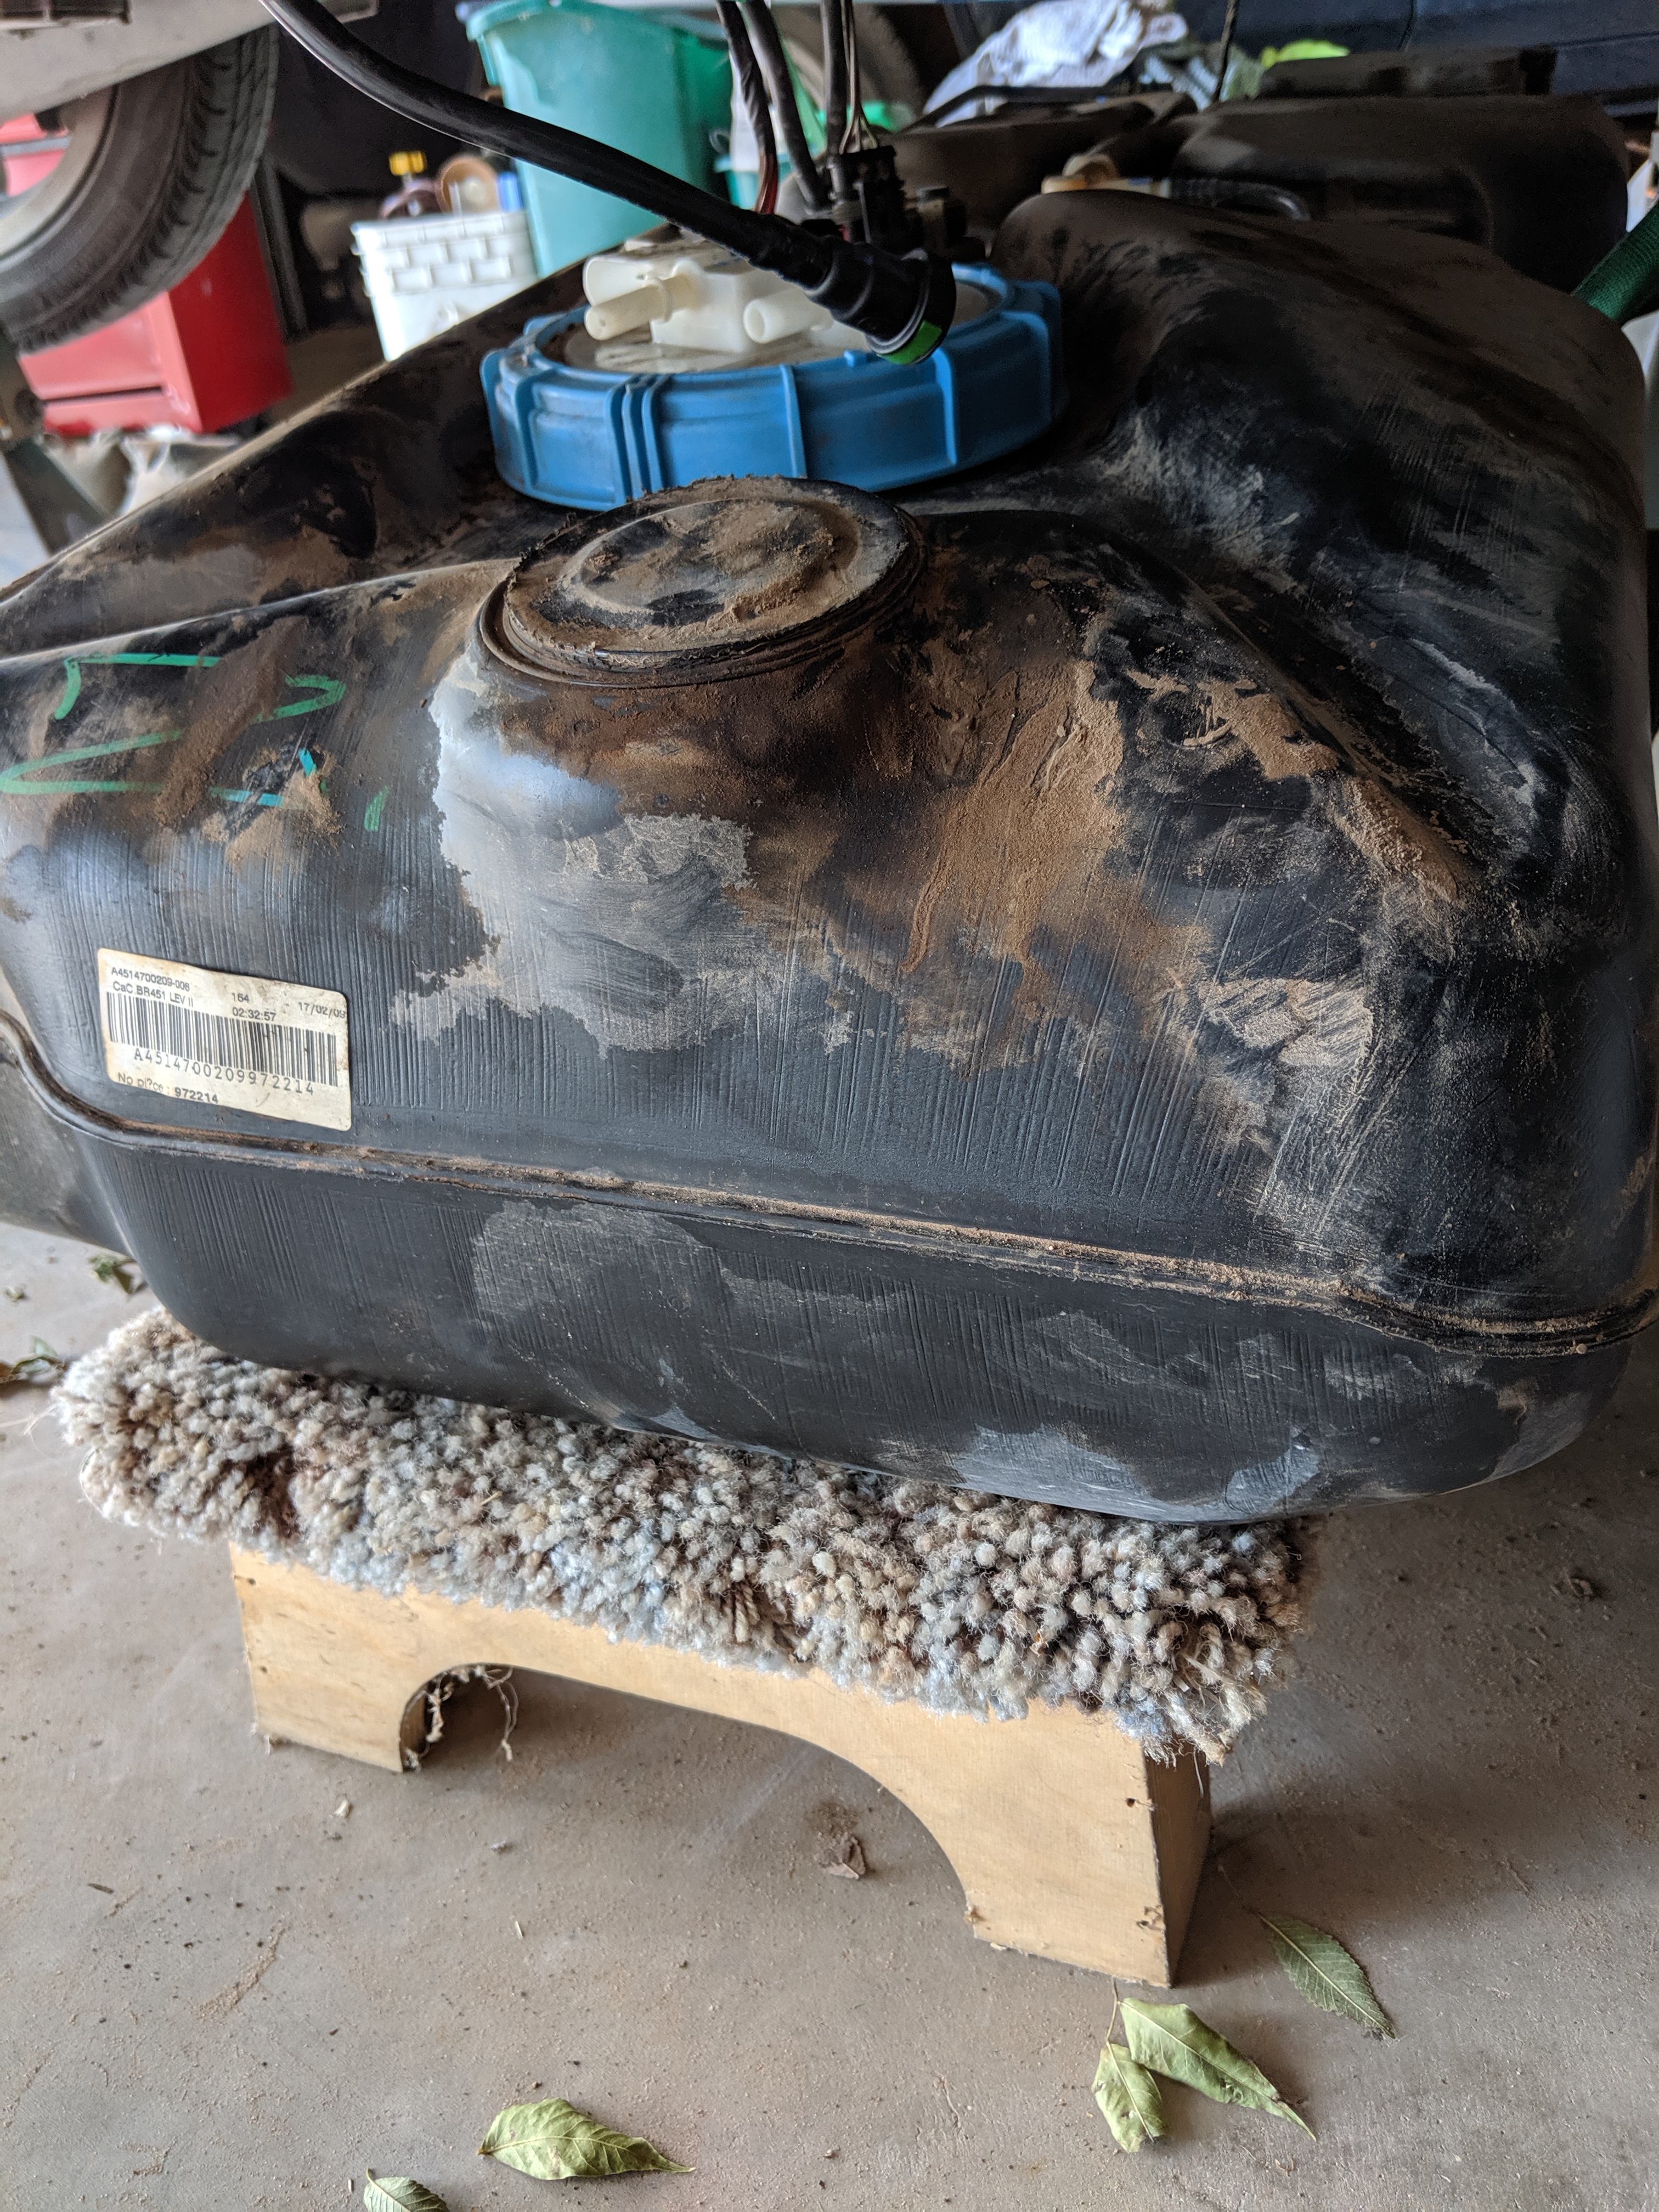
The fuel pump is on the right (passenger) side of the tank. I placed a short stool under that side of the tank and left the other part of the tank supported by the tie down strap. With the fuel pump on the right side of the tank it’s easily accessible without having to be under the car.
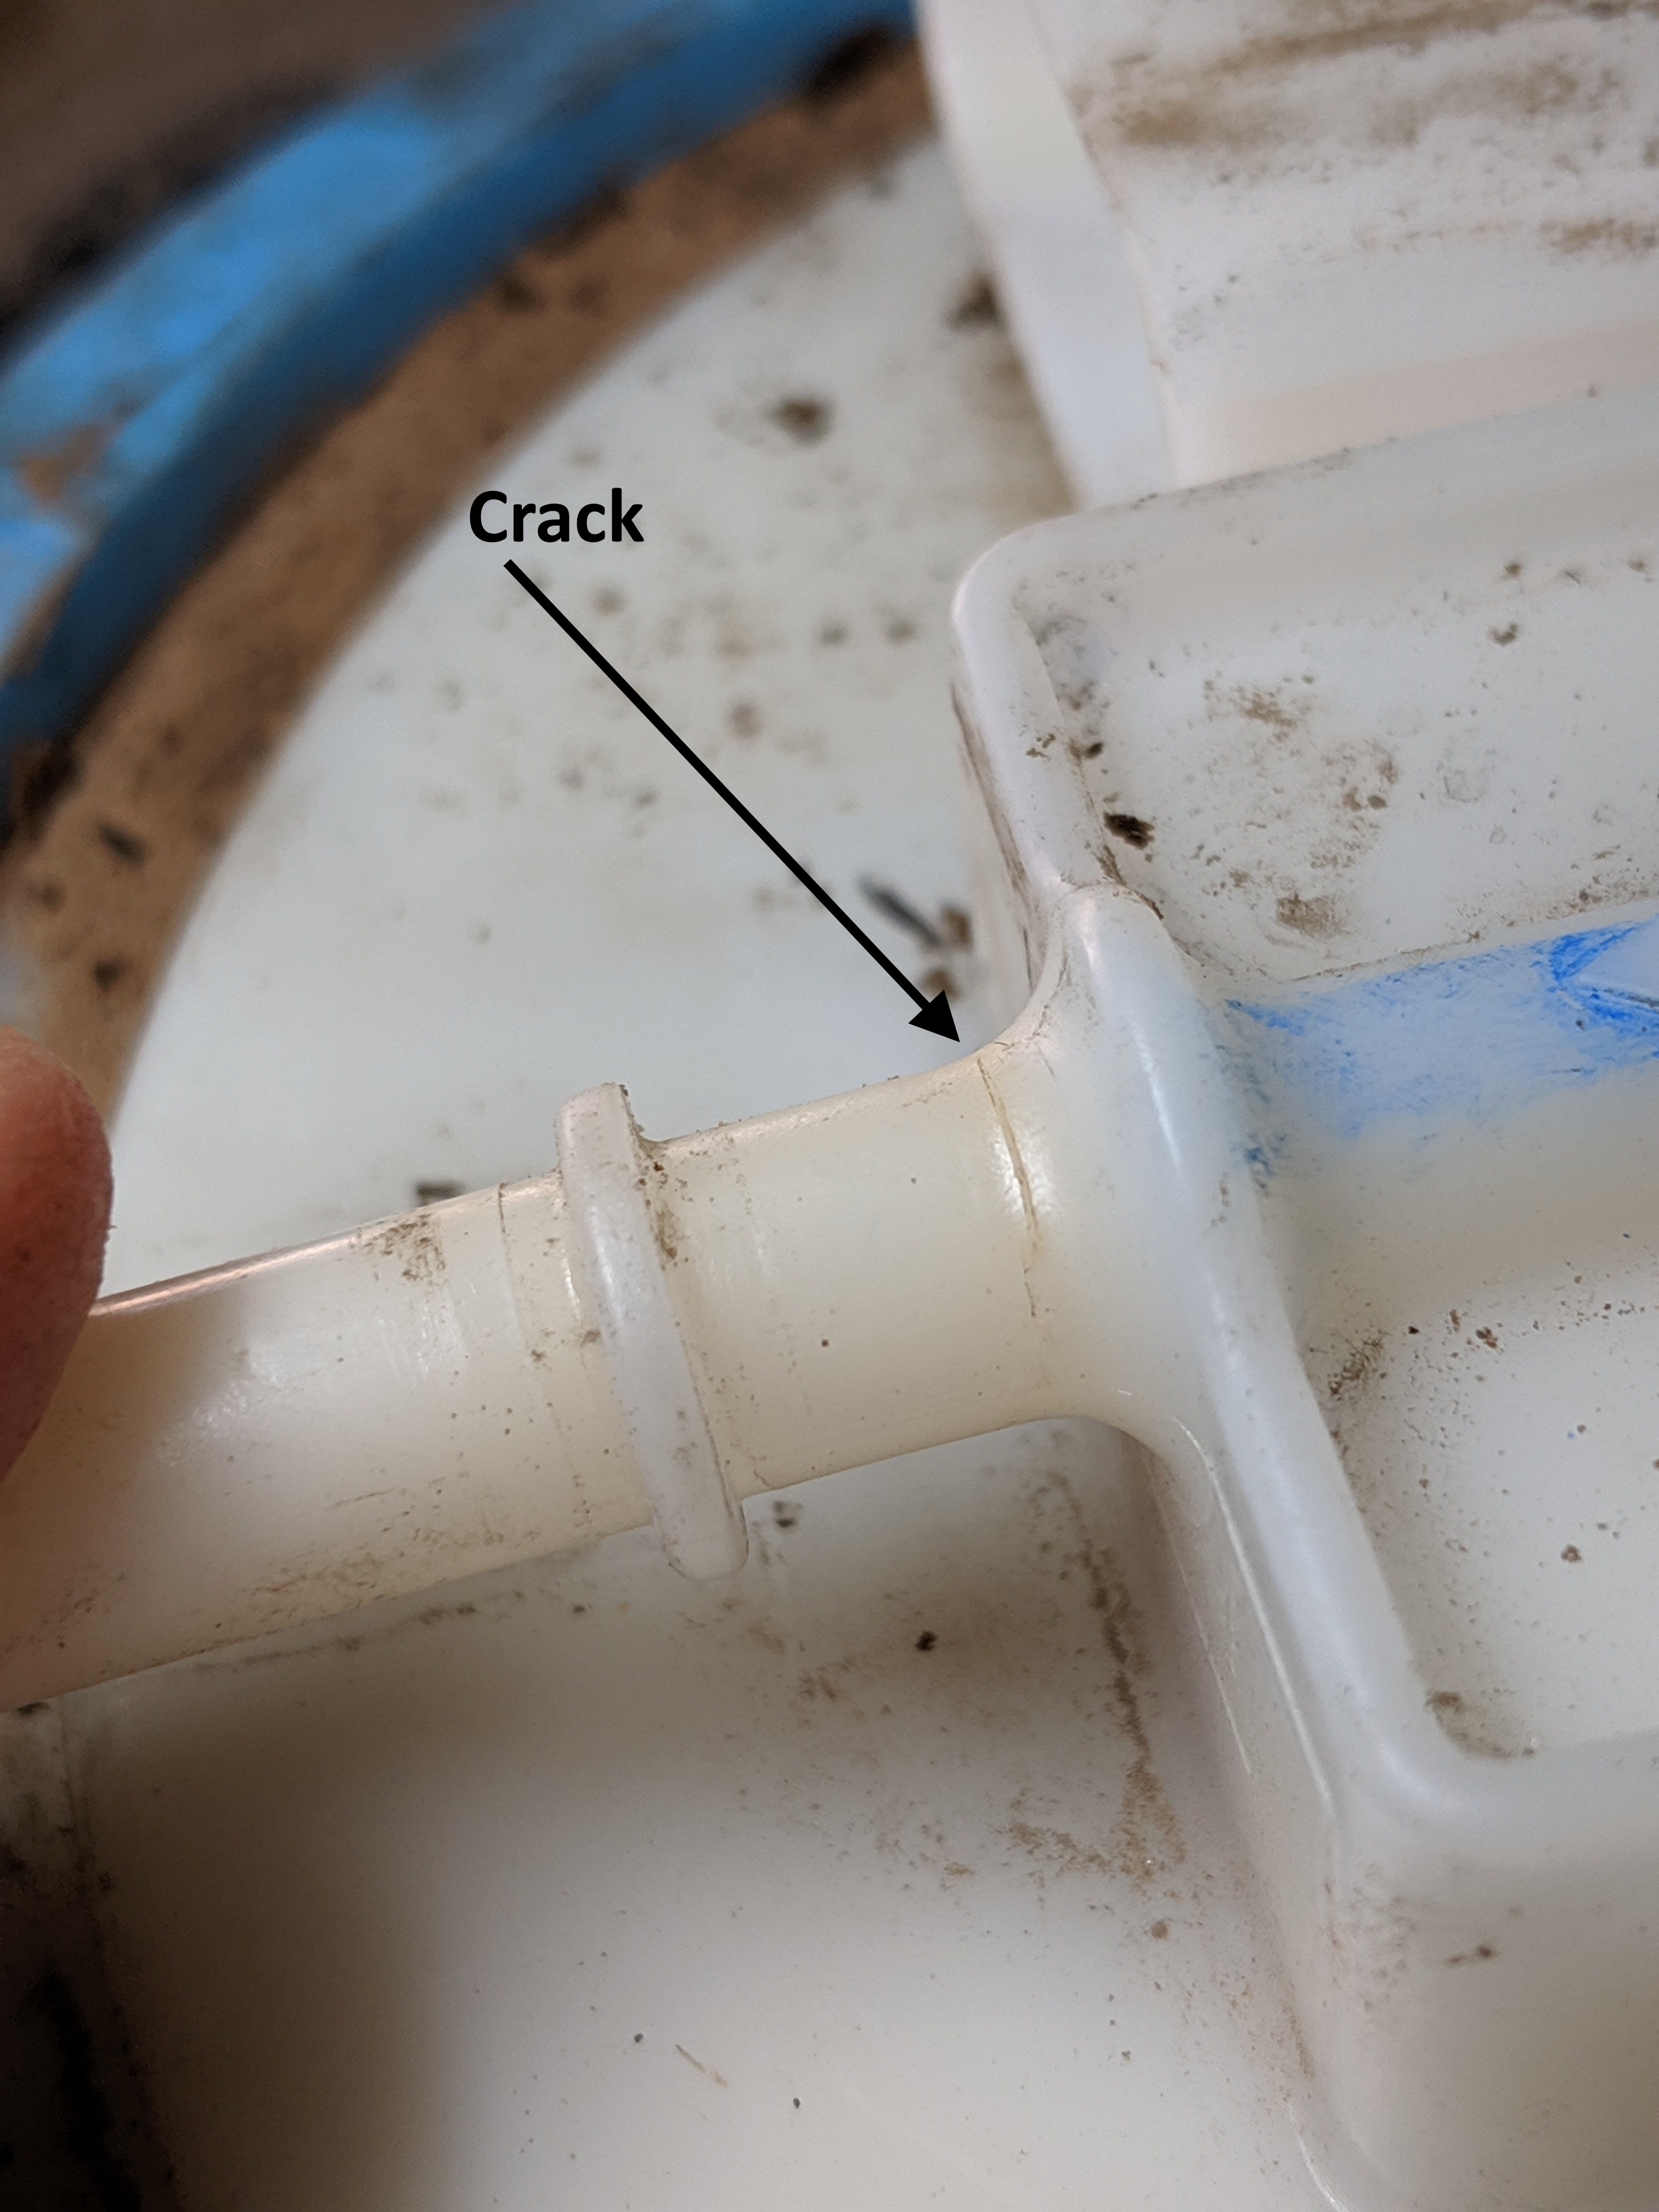
Since everything was still connected to the tank I decided to start the car and see if I could confirm where the leak was. With the car running I didn’t see a leak! After shutting off the car I moved the hoses to the fuel pump slightly and gas sprayed out of the cracked pump outlet. Leak confirmed!
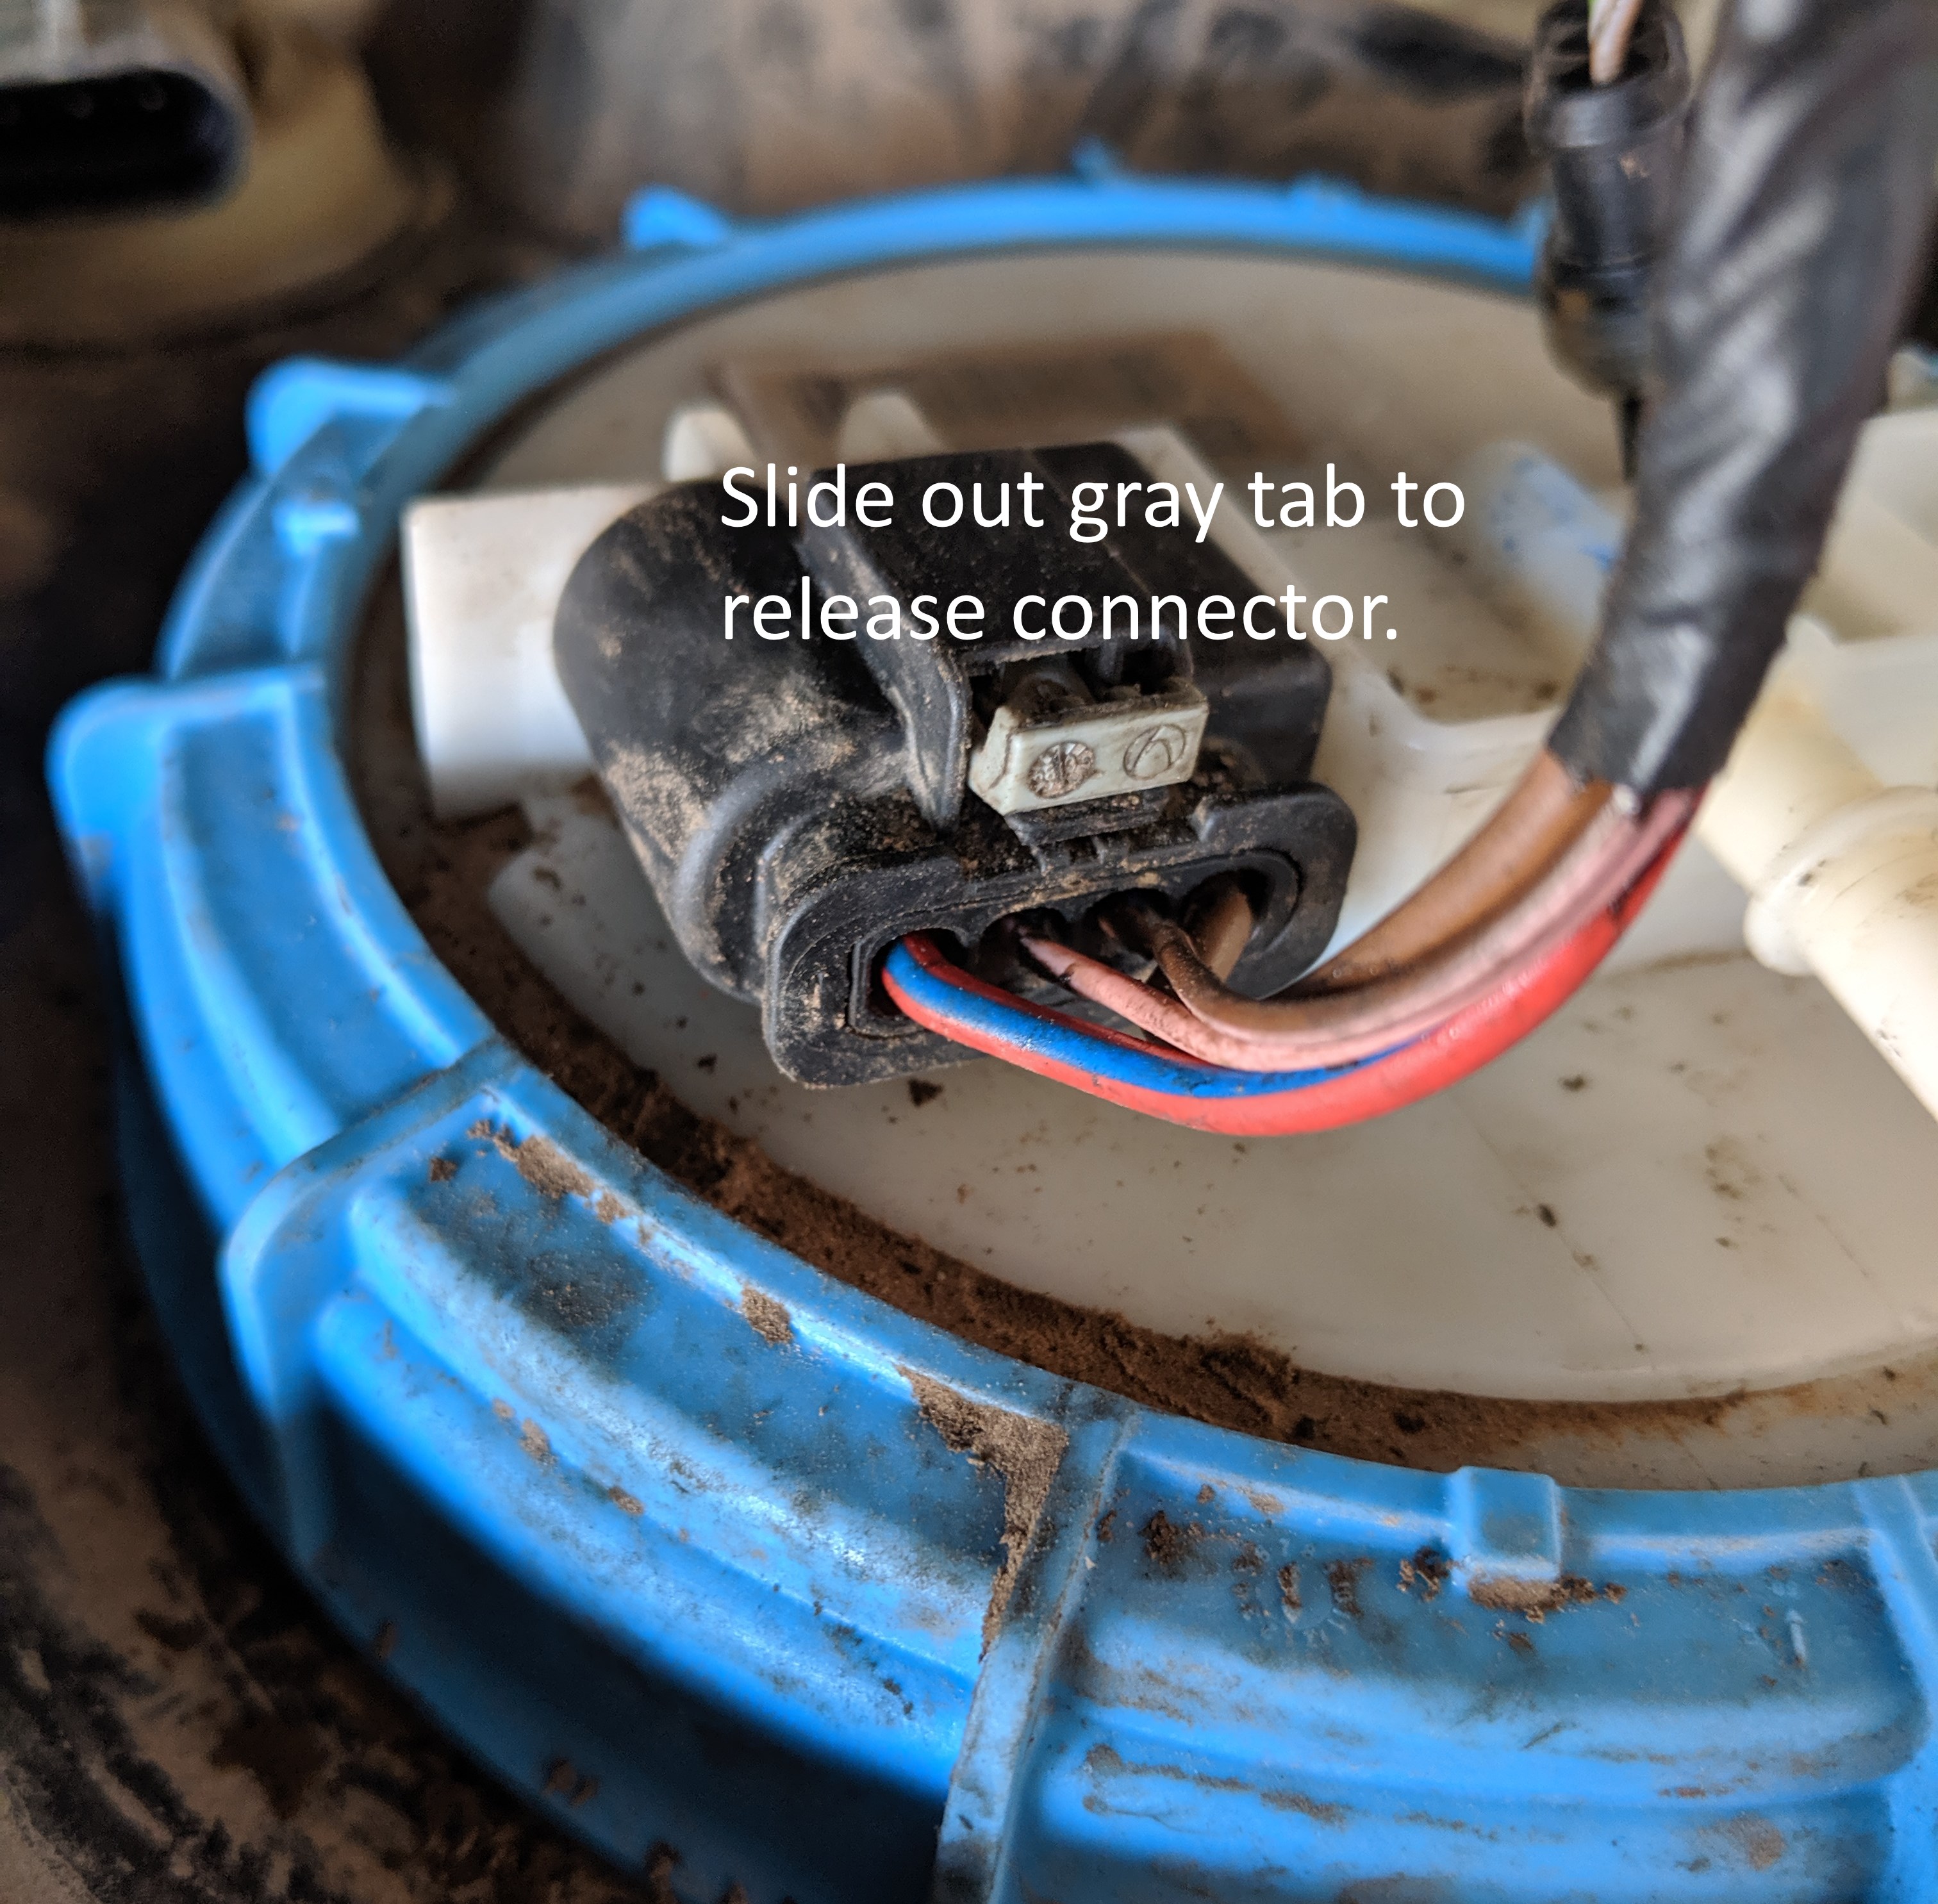

The fuel lines can be disconnected from the fuel pump by pressing the green button on the side of the quick connect and pulling. The electrical connector can be removed by sliding the gray tab out and pulling the entire black connector from the pump.

I ordered a DELPHI FG1883 fuel pump from RockAuto.com. With shipping it was about $275.00.
After receiving the new fuel pump I removed the old pump. I used a strap wrench to unscrew the blue retaining ring. It came off fairly easily. In order to remove the pump from the tank you have to remove another fuel line quick connect that’s inside the tank. The pump will only come out a few inches with the fuel line attached. It has a button to release the connector like the other lines. After that line is disconnected the pump will lift out.
I think the hardest part of this whole project was retrieving and connecting the fuel line from inside the tank. While the line was easy to reach without the fuel pump in place once you drop it in the line gets under the pump and is difficult to reach. I looped some small cord around the quick connect and after dropping in the pump pulled the line up to connect it to the pump. It’s harder than it sounds but I eventually got it.
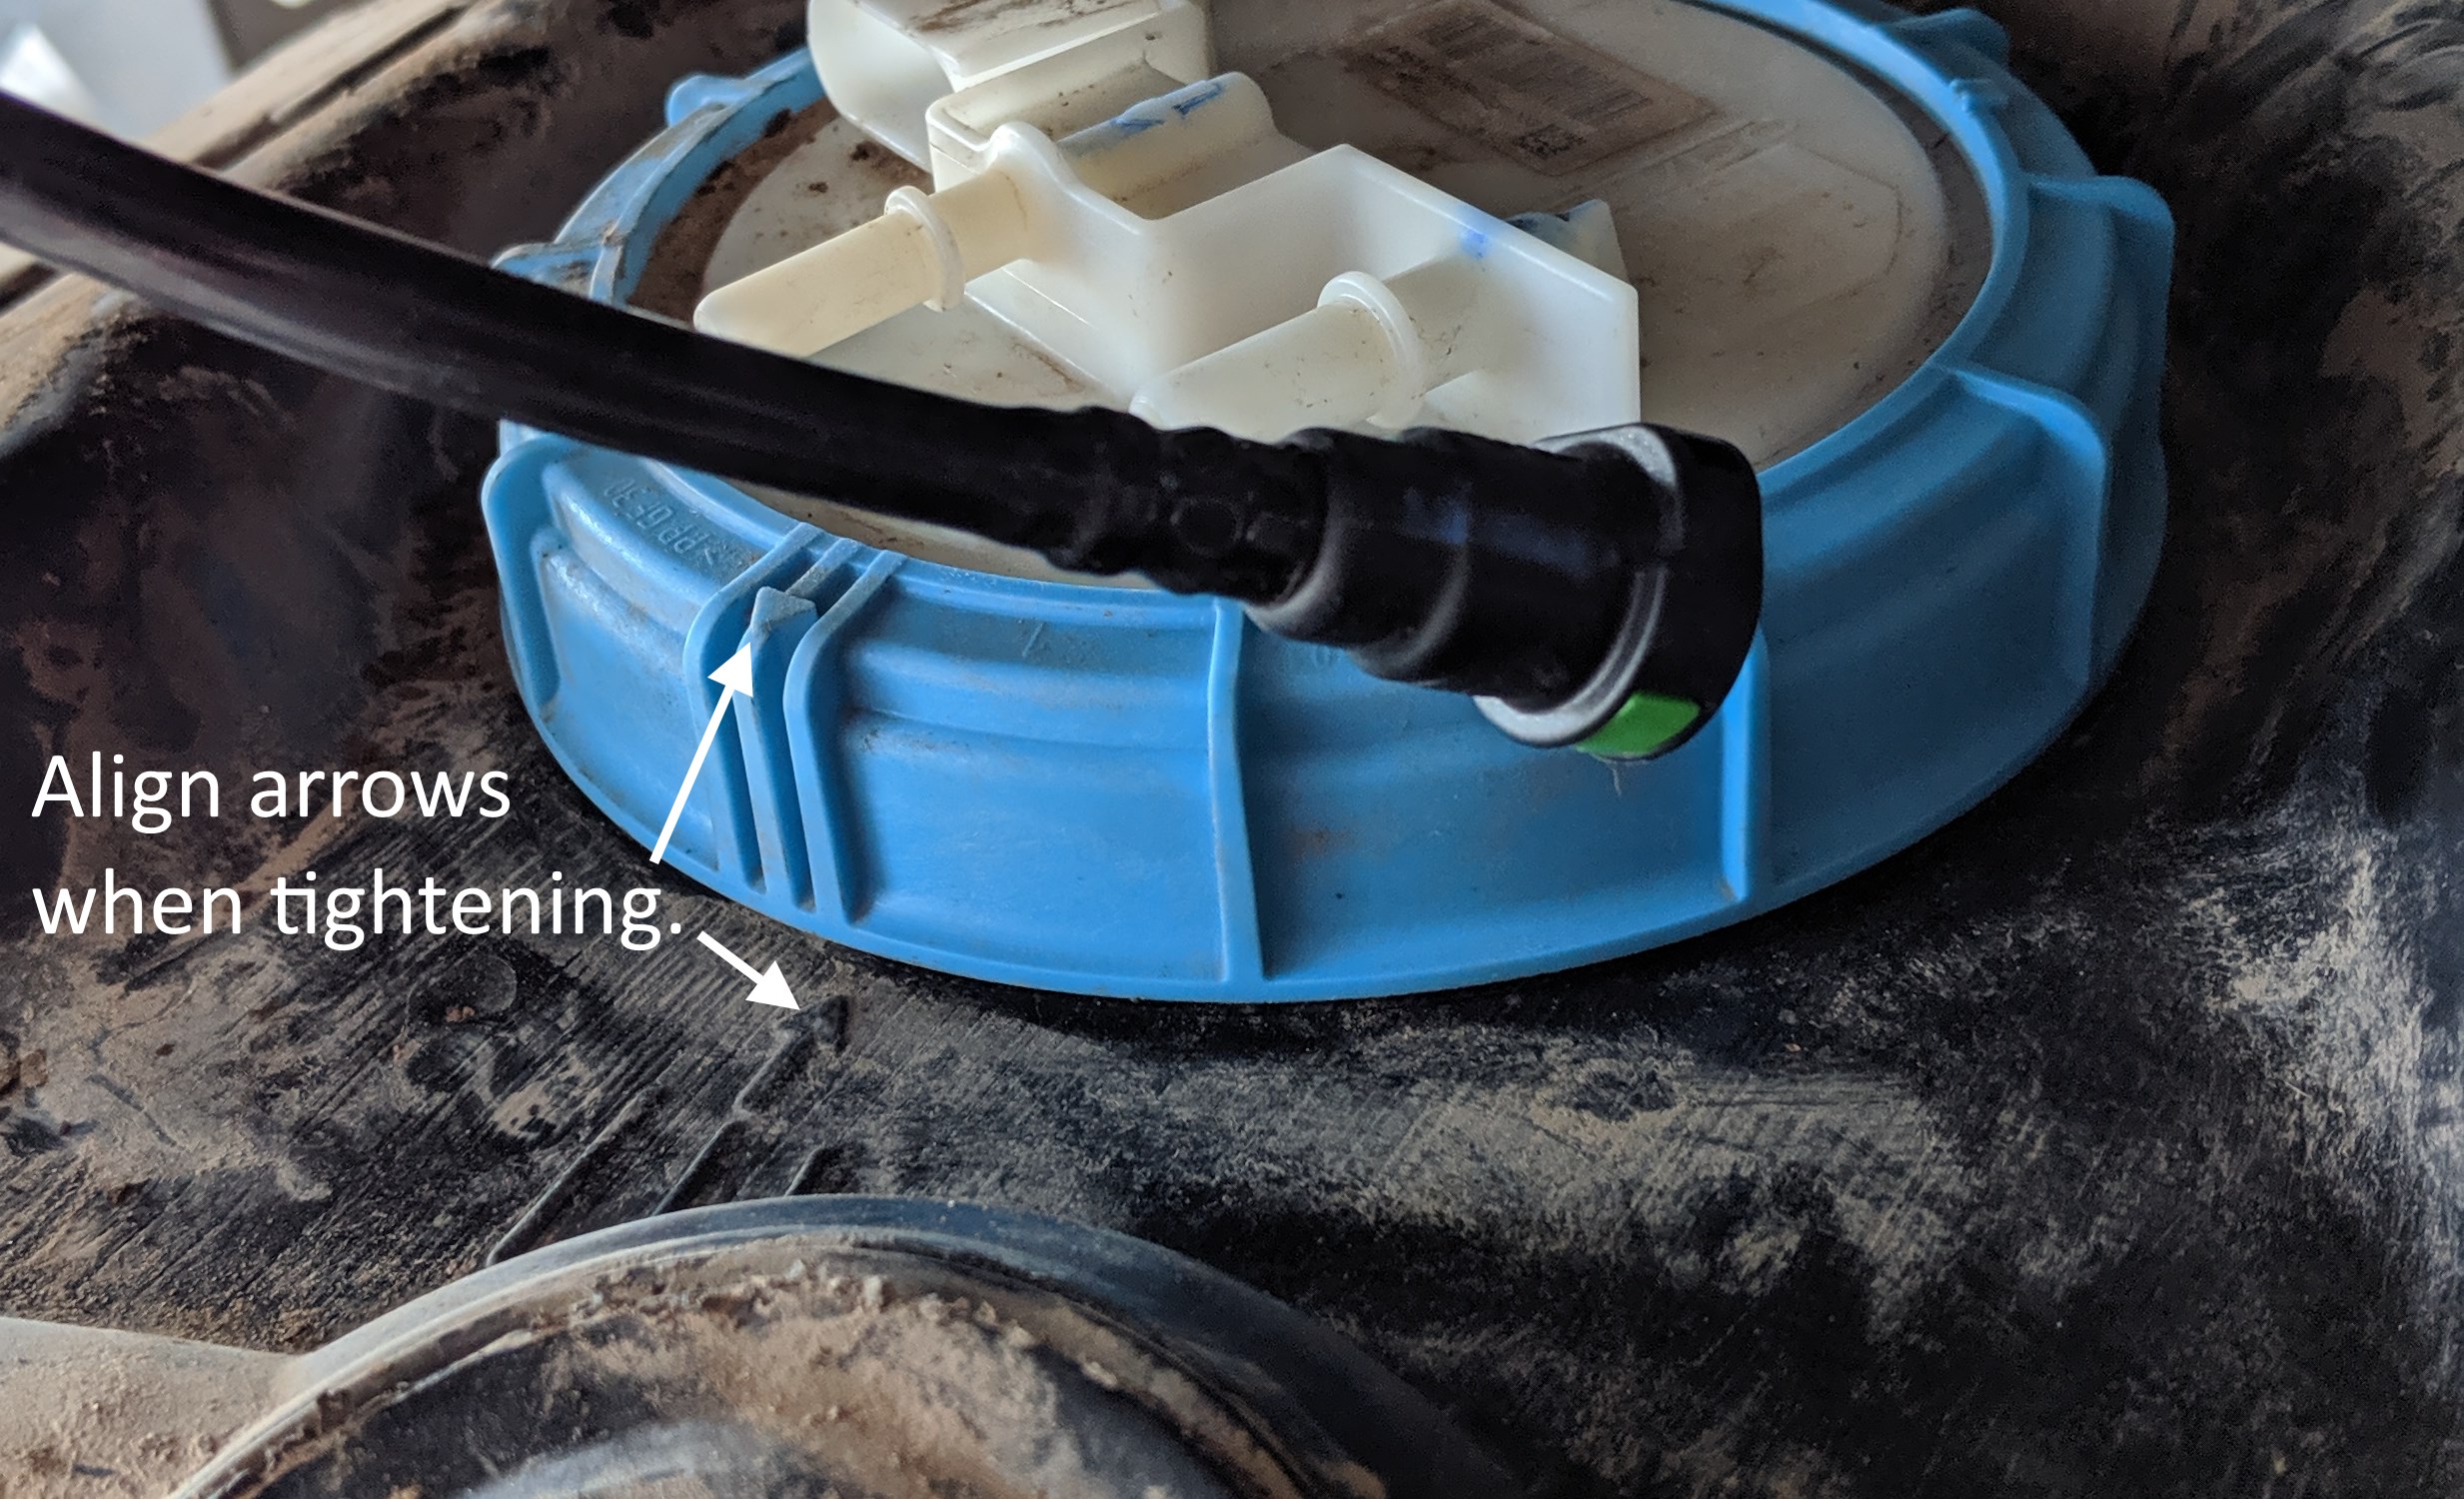
I think the next hardest part was getting the blue pump retaining ring started straight on the threads. After several tries I finally put a very thin layer of grease on the threads. That made it much easier. When tightening the ring notice there is an arrow on the ring and one on the tank. These need to be lined up. I tightened the retaining ring with a strap wrench.
Next it’s just a simple matter of reconnecting the fuel lines and electrical connector. I found reassembly to be much easier than I expected. I lifted the tank back into position while tightening the tie down strap to hold it in place. The right front tank tab slips above a ledge that will support the tank until you get some bolts started. After I had the tank in place I put some gas in the tank and started the car. It ran a bit rough, I assume from air in the lines. I didn’t see any leaks or smell any gas so figured I had everything hooked back up correctly.

I found the belly pan was easier to reattach to the front pan than it was to remove. The tabs just snapped into place. After jacking down the Smart and finishing putting the gas back in the tank I went for a short test drive down the street. It was still running rough and I noticed the check engine light was on. I have an OBD2 reader so I hooked it up and had two error codes saying I had misfires on cylinders 2 & 3. I reset the error codes and they haven’t come back. The car is running smoothly now.
Thanks to dhirtle for his Smart Car of America post about replacing the fuel pump. I’m certainly no mechanic but anyone with some mechanical ability should be able to do this repair.